A newsletter opt-in form can be a great way to generate leads, as you can reach your customers through email which is a powerful marketing tool. You might have noticed newsletter opt-in forms on websites and blogs, but did you know that you can add them on your Facebook page too?
Yes, in the Tabs provided on your Facebook page you can easily add a newsletter opt-in form using the Newsletter App.
Benefits of adding an opt-in form with Newsletter App
1. You can use the form to collect leads for your newsletter.
2. Then use the leads to stay in touch with your customers and increase sales. To sum it up, your Facebook page will help you collect both social media fans and email subscribers.
3. You can also ‘Like Gate’ your form so that people can access it only after ‘Liking’ your page. This can be instrumental in getting more Facebook page fans.
4. The forms come pre-filled, thereby making it easy for visitors to subscribe with just a click.
5. The email they sign up with is the same as the one used to sign up on Facebook, therefore you can be sure that it is valid and active.
6. You can collect unlimited leads and send 10,000 emails per month with the free version of our app.
7. You can also manage your contacts and import the list to other services.
How do you add a newsletter opt-in form to your Facebook page?
It’s extremely easy to add a newsletter to your Facebook page with Newsletter App.
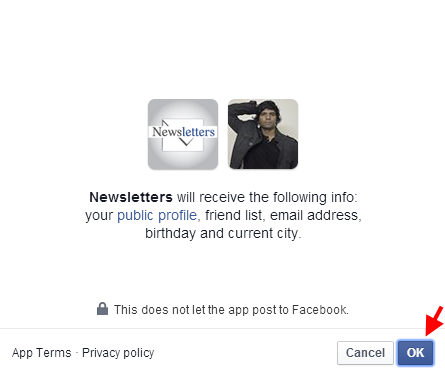
1. First, visit the Newsletters App page and sign up for the free trial.
2. This will take you to a page where you will need to press the blue ‘Ok’ button as the app will require this information in order to function.
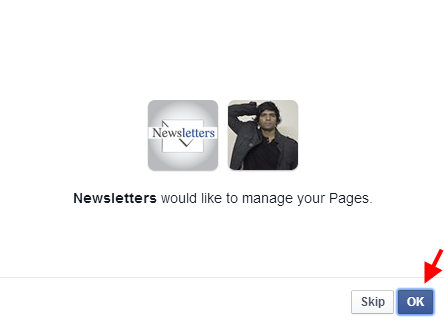
3. In the next step let Newsletters manage your pages by clicking the blue ‘Ok’ button again as the app will require this information in order to add the newsletter.
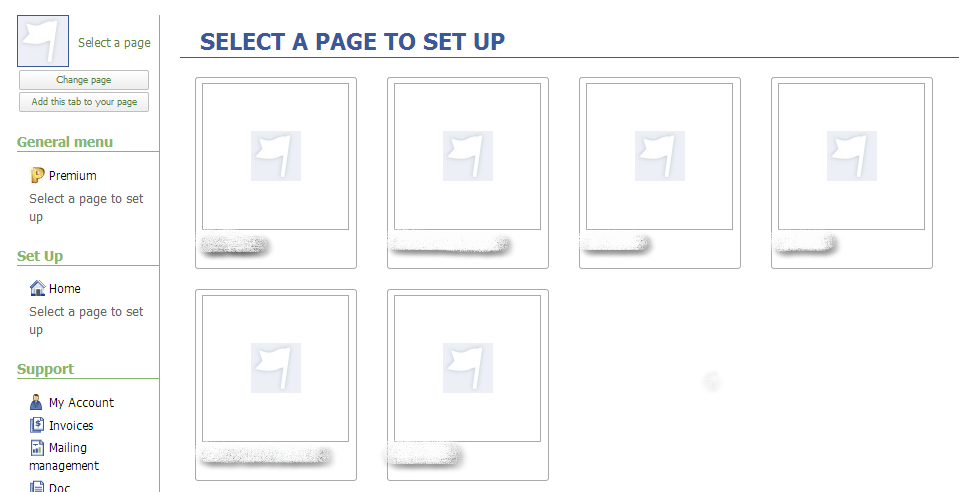
4. Now on the screen that appears choose the Facebook page you would like to install the app on.
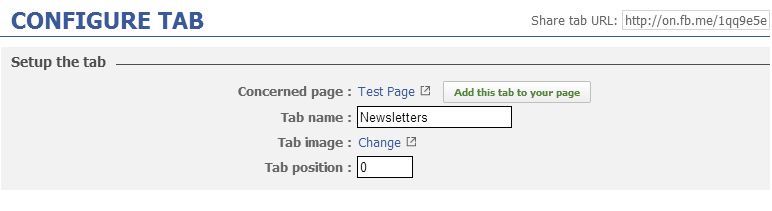
5. You will be taken to a page where you can configure the tab. First let’s set up the tab. Here you can add the tab name, the tab image which is the image that will be displayed on your tab and position which is the order it will appear in. If you don’t add a tab image our default newsletters image will appear here.
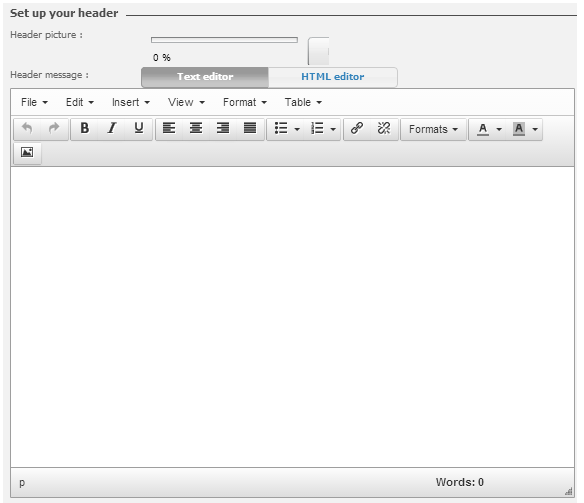
6. Then you can set up your header. The header is the part of the tab that appears above the newsletter form. First, upload a header image which is 810 Pixels wide. It can be as tall as you want. Next write down a message. Let the reader know why and how to sign up to your newsletter.
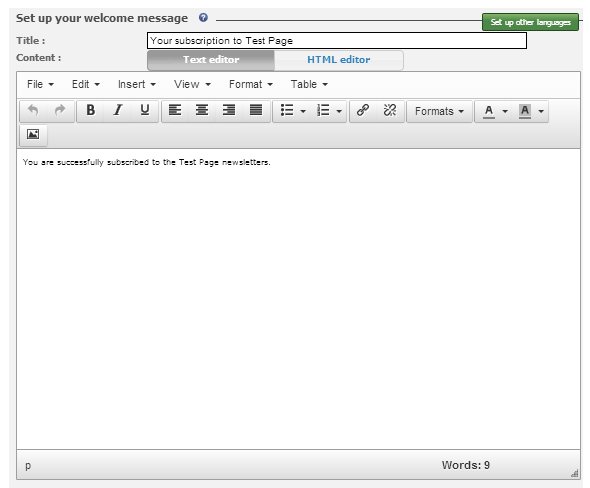
7. In the next box provided write your welcome message. This is the email which will be sent to your new subscribers. First add a title. This will be the subject of the email sent. After you add the tile write down the message. Give them a warm welcome by thanking and letting them know what to expect from your newsletter.
8. After you create your welcome email, you can set up the subscription form. First, decide if you would like to add more fields other than the default ones. Collecting more details can be very useful in promoting yourself as you will know more about your subscribers. The birthday, location and gender field are readily available. You can easily add them by ticking the box next to them. Then add the redirect URL. This is the URL people will be directed to after they sign up. If you would like the notifications to be sent to you by email, then add an email address in the field provided. Once you are happy with the settings click on ‘Save’.
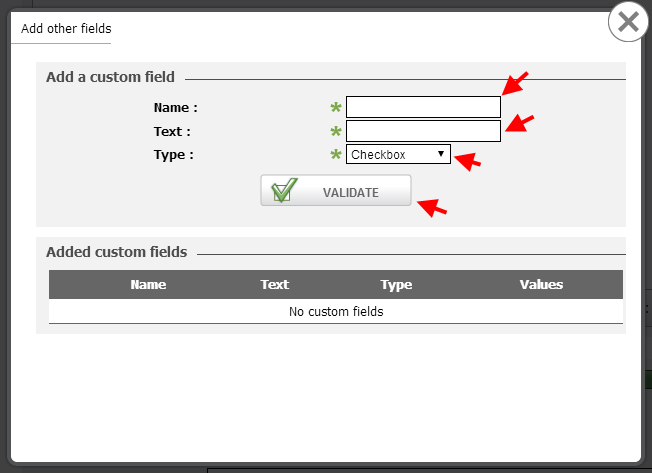
9. If you would like to add custom fields click the green ‘Add Other Fields’ button found at the top right of the subscription form. You can see it in the below screenshot.

This will open up a popup window. Here you can create your custom fields. First add the name which is the name of the field, next add the text which is the text that appears right before the field (letting the reader know what to add). Now choose the field type. It can be a checkbox, date, list of choices or a text field. If you choose list of choices make sure you add the available options. Once you have added the details, click on ‘Validate’ and this will add your custom field.
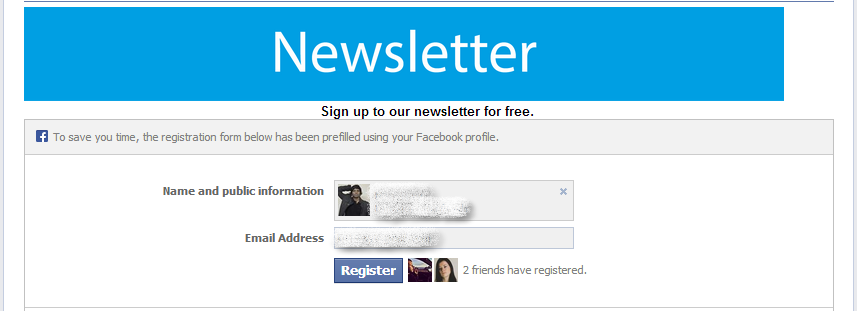
The app should be set up now. Visit your page to check it out. Here’s an example of what it should look like. Here’s the tab…
And here’s the form…
People should be able to easily sign up to your newsletter from your Facebook page with one click as the form is pre-filled.
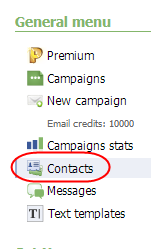
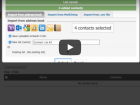
10. Details of people who sign up can be found in the ‘Contacts’ page. You can visit it by clicking on ‘Contacts’ which can be found under ‘General menu’ on the left sidebar.
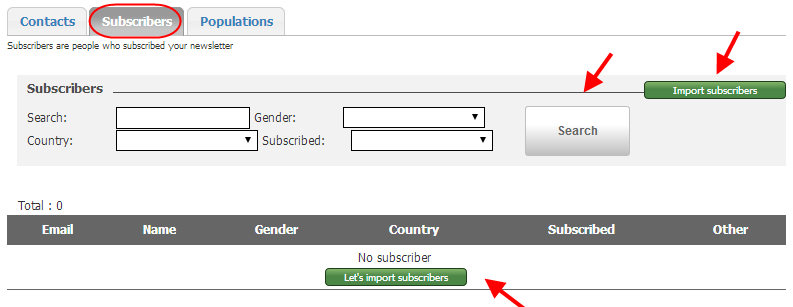
11. This will take you the contacts page. Here you can view contacts added through contact form and subscribers of your newsletter. To only view subscribers click on the ‘Subscribers’ tab at the top. The names of your subscribers and their details should appear in the list below. You can also search for subscribers using the search feature. The green ‘Import subscribers’ buttons at the top and bottom can be used to import subscribers.
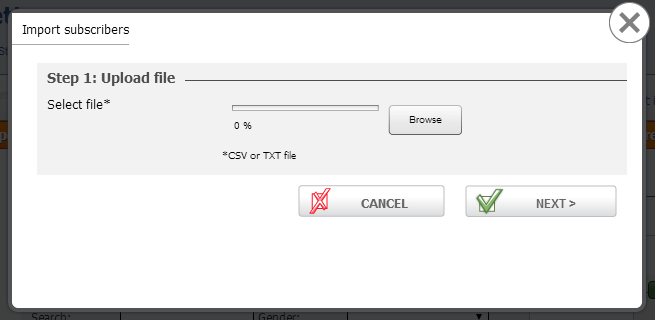
Clicking on these buttons will get a popup to appear. You can upload your subscribers here.
In the next tutorial you will learn how to send newsletters.
The free version of our app has limited features. To gain accessed to better more advanced features sign up for the paid version. You will be able to send more emails and even have an unbranded form which can improve conversions.
Comments